Mon 03 December 2018
Swipeable NSCollectionView
If you've done any iOS development, you're likely familiar with UICollectionView, a data-driven way of building complex views that offer more flexibility than UITableView. If you've dabbled in Cocoa (macOS) development, you've probably seen NSCollectionView and NSTableView... and promptly wondered what era you stepped in to.
I kid, but only somewhat. Over the past few macOS releases, Apple's been silently patching these classes to be more modern. NSTableView is actually super similar to UITableView; auto-sizing rows work fine, and you can get free row-swiping on trackpads. You'll be stuck working around a strange data source discrepancy (a flat list vs a 2-dimensional list), but it can work. NSCollectionView was mired by an old strange API for awhile, but it's now mostly compatible with UICollectionView, provided you do the proper ritual to force it into the new API.
In iOS-land, there's a pretty great project by the name of SwipeCellKit which brings swipe-to-reveal functionality to UICollectionView. It's nice, as one of the more annoying things about moving from UITableView to UICollectionView has been the lack of swipeable actions. In an older project I wound up looking into how difficult it'd be to bring this same API to NSCollectionViewItem; I didn't finish it as the design for the project wound up being easier to implement with NSTableView, but I figured I'd share my work here in case anyone out there wants to extend it further. A good chunk of this has been from digging through various disconnected docs and example projects from Apple, coupled with poking and prodding through Xcode, so I'd hate for it to fade back into obscurity.
Just Give Me the Code...
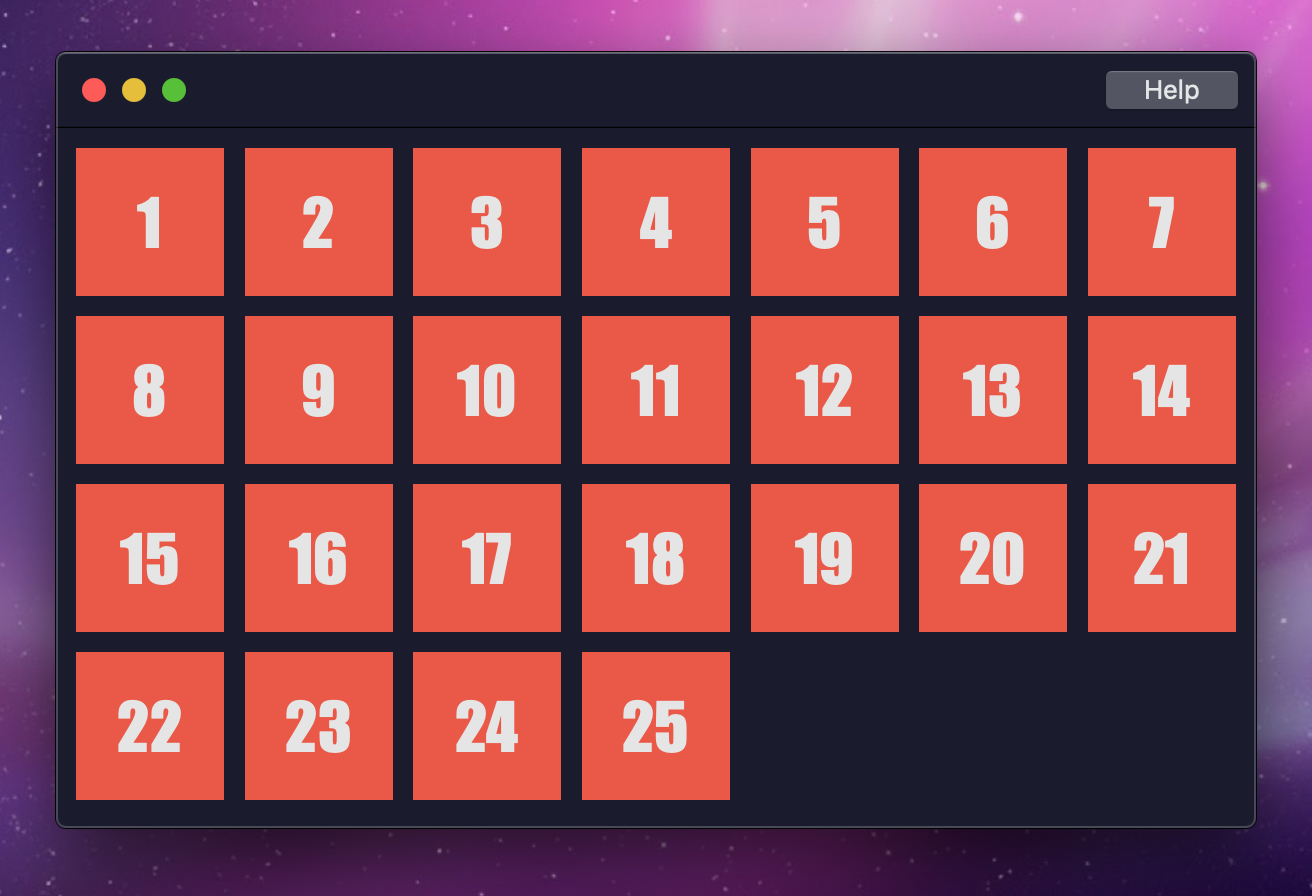
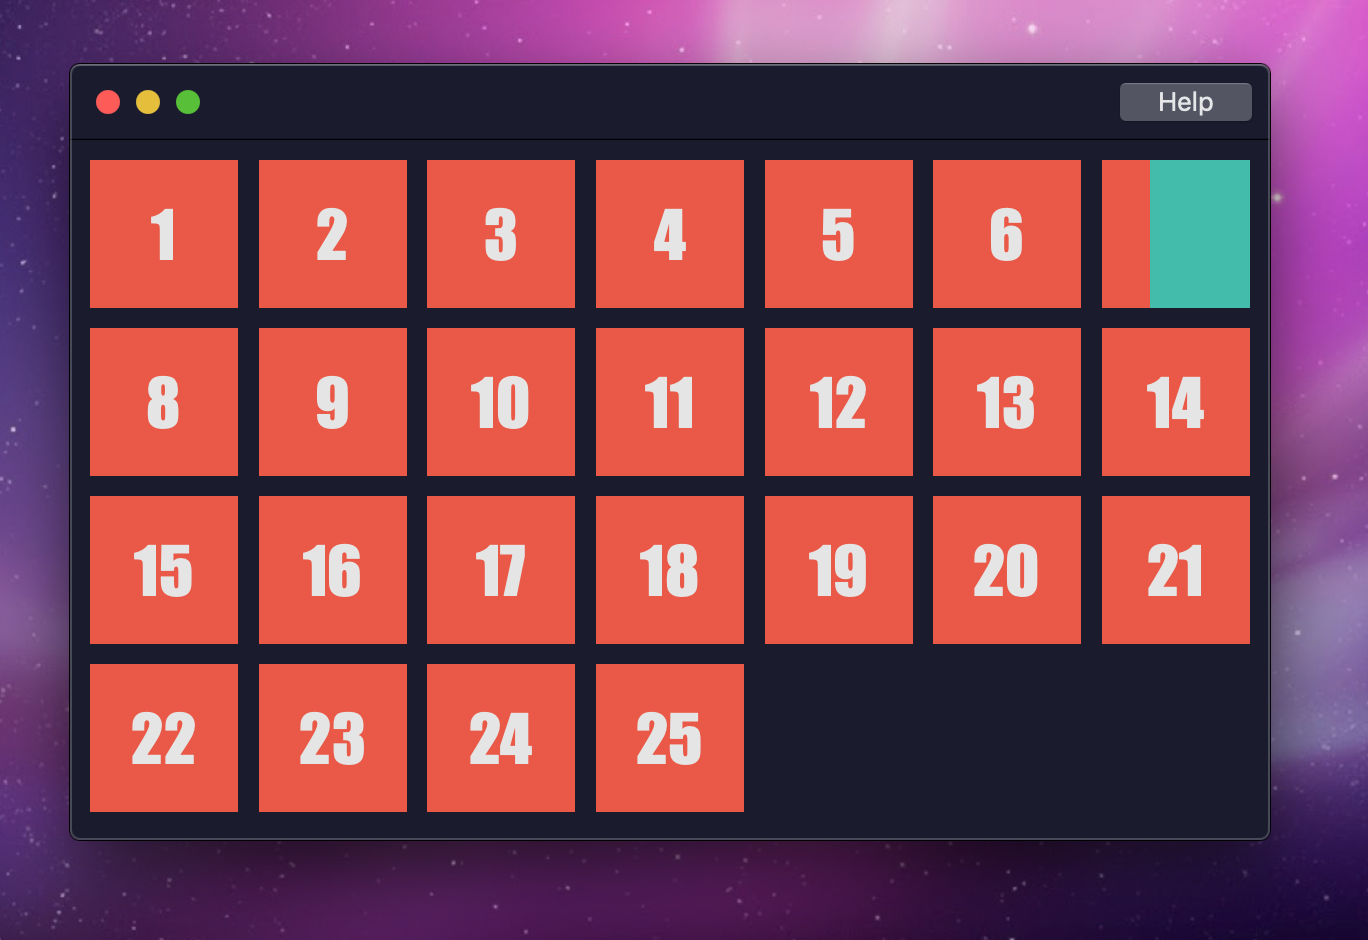
If you're the type who'd rather dig around in code, feel free to jump directly to the project on GitHub. It's a complete macOS Xcode project that you can run and mess around with, in the style of a holiday calendar. It's December, sue me.
Swiping on Mac
Getting this working for Cocoa was a bit cumbersome, as there's a few different ways you can attempt it, all with their own pitfalls.
- Like UIKit, Cocoa and AppKit have the concept of Gesture Recognizers... but they're more limited in general, as they seemingly require a full click before you can act on mouse or gesture movement. I spent a bit of time testing this, and it seems impossible to disable. This means they ultimately don't work, as a trackpad on Mac can be configured to not be click-on-tap. In addition, a few things here seem specific to the Touch Bar found in newer MacBook Pros, which don't particularly help here.
- We could try the old school Mouse tracking
NSEventAPIs, but they feel very cumbersome in 2018 (not that they don't have their place). Documentation also feels very spotty on them.
Ultimately, the best approach I found was going with simple touchesBegan(), touchesMoved(), and touchesEnded() methods on the view controller item. The bulk of the logic happens in touchesMoved(), with the rest existing mostly as flow-control for everything.
Opting In
Before implementing those methods, setting up an NSCollectionViewItem so that it'll report touch events requires a couple of lines of code. I don't use Interface Builder, so this is included in overriding loadView() below; if you're an Interface Builder user, you might opt for this to happen in viewDidLoad() instead.
class HolidayCalendarCollectionViewItem: NSCollectionViewItem {
    var leftAnchor: NSLayoutConstraint?
    var initialTouchOne: NSTouch?
    var initialTouchTwo: NSTouch?
    var currentTouchOne: NSTouch?
    var currentTouchTwo: NSTouch?
    var initialPoint: CGPoint?
    var isTracking = false

    public lazy var contentView: NSView = {
        let view = NSView(frame: .zero)
        view.translatesAutoresizingMaskIntoConstraints = false
        return view
    }()

    override func loadView() {
        let itemView = NSView(frame: .zero)
        itemView.postsFrameChangedNotifications = false
        itemView.postsBoundsChangedNotifications = false
        itemView.wantsLayer = true
        itemView.allowedTouchTypes = [.direct, .indirect]
        itemView.addSubview(contentView)

        leftAnchor = contentView.leftAnchor.constraint(equalTo: itemView.leftAnchor)
        NSLayoutConstraint.activate([
            contentView.topAnchor.constraint(equalTo: itemView.topAnchor),
            leftAnchor!,
            contentView.bottomAnchor.constraint(equalTo: itemView.bottomAnchor),
            contentView.widthAnchor.constraint(equalTo: itemView.widthAnchor),
        ])

        view = itemView
    }
}
Of note here:
- We need to make sure that
allowedTouchTypessupports direct and indirect touch types. Some of the docs allude to these being used more for the Touch Bar, but in my testing not having them resulted in the swipes not registering sometimes. Go figure. - We add in a
contentViewproperty here; UICollectionViewCell already has this property, but NSCollectionViewItem is a View Controller and lacks it. Since we need two layers for swiping to reveal something, we'll just follow the UICollectionView API for comfort. postsFrameChangedNotificationsandpostsBoundsChangedNotificationsare something I disable, as they can make resizing and animating complex NSCollectionViews choppy. I learned of this from some Cocoa developer who threw it on Twitter, where it likely fell into the ether and doesn't surface much anymore. Helped me in early 2018, so I'm not inclined to believe it's changed. Friends don't let friends post this stuff on Twitter.- We keep a
leftAnchorreference to do swipe animations later, and rather than pin the right anchor to the item right anchor, we just map the width.
Capturing the Swipe
With the above in place, touches should properly register. We're primarily interested in mimicing the two-finger swipe-to-reveal that NSTableView has, so our touchesBegan should block anything other than that.
override func touchesBegan(with event: NSEvent) {
    if(isTracking) { return }

    let initialTouches = event.touches(matching: .touching, in: view)
    if(initialTouches.count != 2) { return }

    isTracking = true
    initialPoint = view.convert(event.locationInWindow, from: nil)

    let touches = Array(initialTouches)
    initialTouchOne = touches[0]
    initialTouchTwo = touches[1]
    currentTouchOne = touches[0]
    currentTouchTwo = touches[1]
}
When the first two-finger swipe begins, we grab the initial points for comparing to later movements.
override func touchesMoved(with event: NSEvent) {
    if(!isTracking) { return }

    let currentTouches = event.touches(matching: .touching, in: view)
    if(currentTouches.count != 2) { return }

    currentTouchOne = nil
    currentTouchTwo = nil

    currentTouches.forEach { (touch: NSTouch) in
        if(touch.identity.isEqual(initialTouchOne?.identity)) {
            currentTouchOne = touch
        } else {
            currentTouchTwo = touch
        }
    }

    let initialXPoint = [
        initialTouchOne?.normalizedPosition.x ?? 0.0,
        initialTouchTwo?.normalizedPosition.x ?? 0.0
    ].min() ?? 0.0

    let currentXPoint = [
        currentTouchOne?.normalizedPosition.x ?? 0.0,
        currentTouchTwo?.normalizedPosition.x ?? 0.0
    ].min() ?? 0.0

    let deviceWidth = initialTouchOne?.deviceSize.width ?? 0.0
    let oldX = (initialXPoint * deviceWidth).rounded(.up)
    let newX = (currentXPoint * deviceWidth).rounded(.up)

    var delta: CGFloat = 0.0
    if(oldX > newX) { // Swiping left
        delta = (oldX - newX) * -1.0
    } else if(newX > oldX) { // Swiping right
        delta = newX - oldX
    }

    NSAnimationContext.runAnimationGroup { [weak self] (context: NSAnimationContext) in
        context.timingFunction = CAMediaTimingFunction(name: .easeIn)
        context.duration = 0.2
        context.allowsImplicitAnimation = true
        self?.leftAnchor?.animator().constant = delta
    }
}
As a drag occurs, this event will continually fire. We grab the newest ("current") touches, and compare where they are in relation to the initial touches. There's a bit of math involved here to get this right, as the Trackpad on Mac isn't quite like a touch screen (normalizedPosition doesn't map to a pixel coordinate). Once we've calculated everything, we can begin animating the top (content) view to reveal the contents underneath.
override func touchesEnded(with event: NSEvent) {
    if(self.isTracking) {
        self.endTracking(leftAnchor?.constant ?? 0)
    }
}

override func touchesCancelled(with event: NSEvent) {
    if(self.isTracking) {
        self.endTracking(leftAnchor?.constant ?? 0)
    }
}

func endTracking(_ delta: CGFloat) {
    initialTouchOne = nil
    initialTouchTwo = nil
    currentTouchOne = nil
    currentTouchTwo = nil
    isTracking = false

    let leftThreshold: CGFloat = 50.0
    let rightThreshold: CGFloat = -50.0
    var to: CGFloat = 0.0

    if(delta > leftThreshold) {
        to = leftThreshold
    } else if(delta < rightThreshold) {
        to = rightThreshold
    }

    NSAnimationContext.runAnimationGroup { [weak self] (context: NSAnimationContext) in
        context.timingFunction = CAMediaTimingFunction(name: .easeIn)
        context.duration = 0.5
        context.allowsImplicitAnimation = true
        self?.leftAnchor?.animator().constant = to
    }
}
The last necessary pieces are just handling when a drag event ends or is cancelled. We'll forward both of those events into endTracking, which determines the final resting state of the drag animation: if we've dragged far enough in either direction, it'll "snap" to the threshold and hang there until a new swipe gesture begins.
Taking It Further
While the above implements swiping, it's not... great yet. As I noted over on the GitHub repository, this could definitely be tied into a SwipeCellKit-esque API (or just into SwipeCellKit entirely). It also doesn't take drag velocity into account, as calculating it on macOS isn't as simple as iOS, and I ended up scrapping this before using it in a shipping product. Feel free to crib whatever code or assets as necessary! If you end up building on this or taking it further, a line of credit would be cool.

